What is the Correct Way to Fill Solder Cups
Welcome to SEO in Sydney, your go-to source for expert SEO services in the business and consumer services industry. In this article, we will guide you through the correct way to fill solder cups, ensuring efficient soldering and a successful outcome for your projects.
Understanding Solder Cups
Solder cups are small cylindrical recesses or cavities typically found in electronic components or connectors. These cups allow for the insertion of wires or leads that are then soldered in place, creating a secure electrical connection. Filling solder cups requires precision and attention to detail to ensure a reliable join.
Step-by-Step Guide to Filling Solder Cups
1. Prepare Your Equipment
Before attempting to fill solder cups, gather the necessary equipment. You will need a soldering iron with a fine tip, quality solder wire, flux, small wire cutters, and tweezers for handling the wires.
2. Clean the Solder Cups
Prior to filling the solder cups, it is crucial to clean them thoroughly. Use isopropyl alcohol and a small brush or cotton swab to remove any dirt, debris, or oxidation from the cups. Clean cups provide better adhesion and ensure a reliable connection.
3. Apply Flux
Apply a small amount of flux to the cleaned solder cups. Flux helps remove oxidation, prevents the formation of new oxides, and improves solder flow. Use a fine brush or flux pen to apply a thin and even layer.
4. Prepare the Wires
Prepare the wires or leads that will be inserted into the solder cups. Strip the wires of their insulation, leaving enough bare wire to fully fill the cups. Twist or tin the exposed wire ends to prevent fraying or stray strands that could interfere with the soldering process.
5. Insert the Wires
Gently insert the prepared wires into the solder cups, ensuring a snug fit. Use tweezers to handle the wires for better control and precision. Be careful not to force the wires or bend them excessively, as it can lead to weak connections.
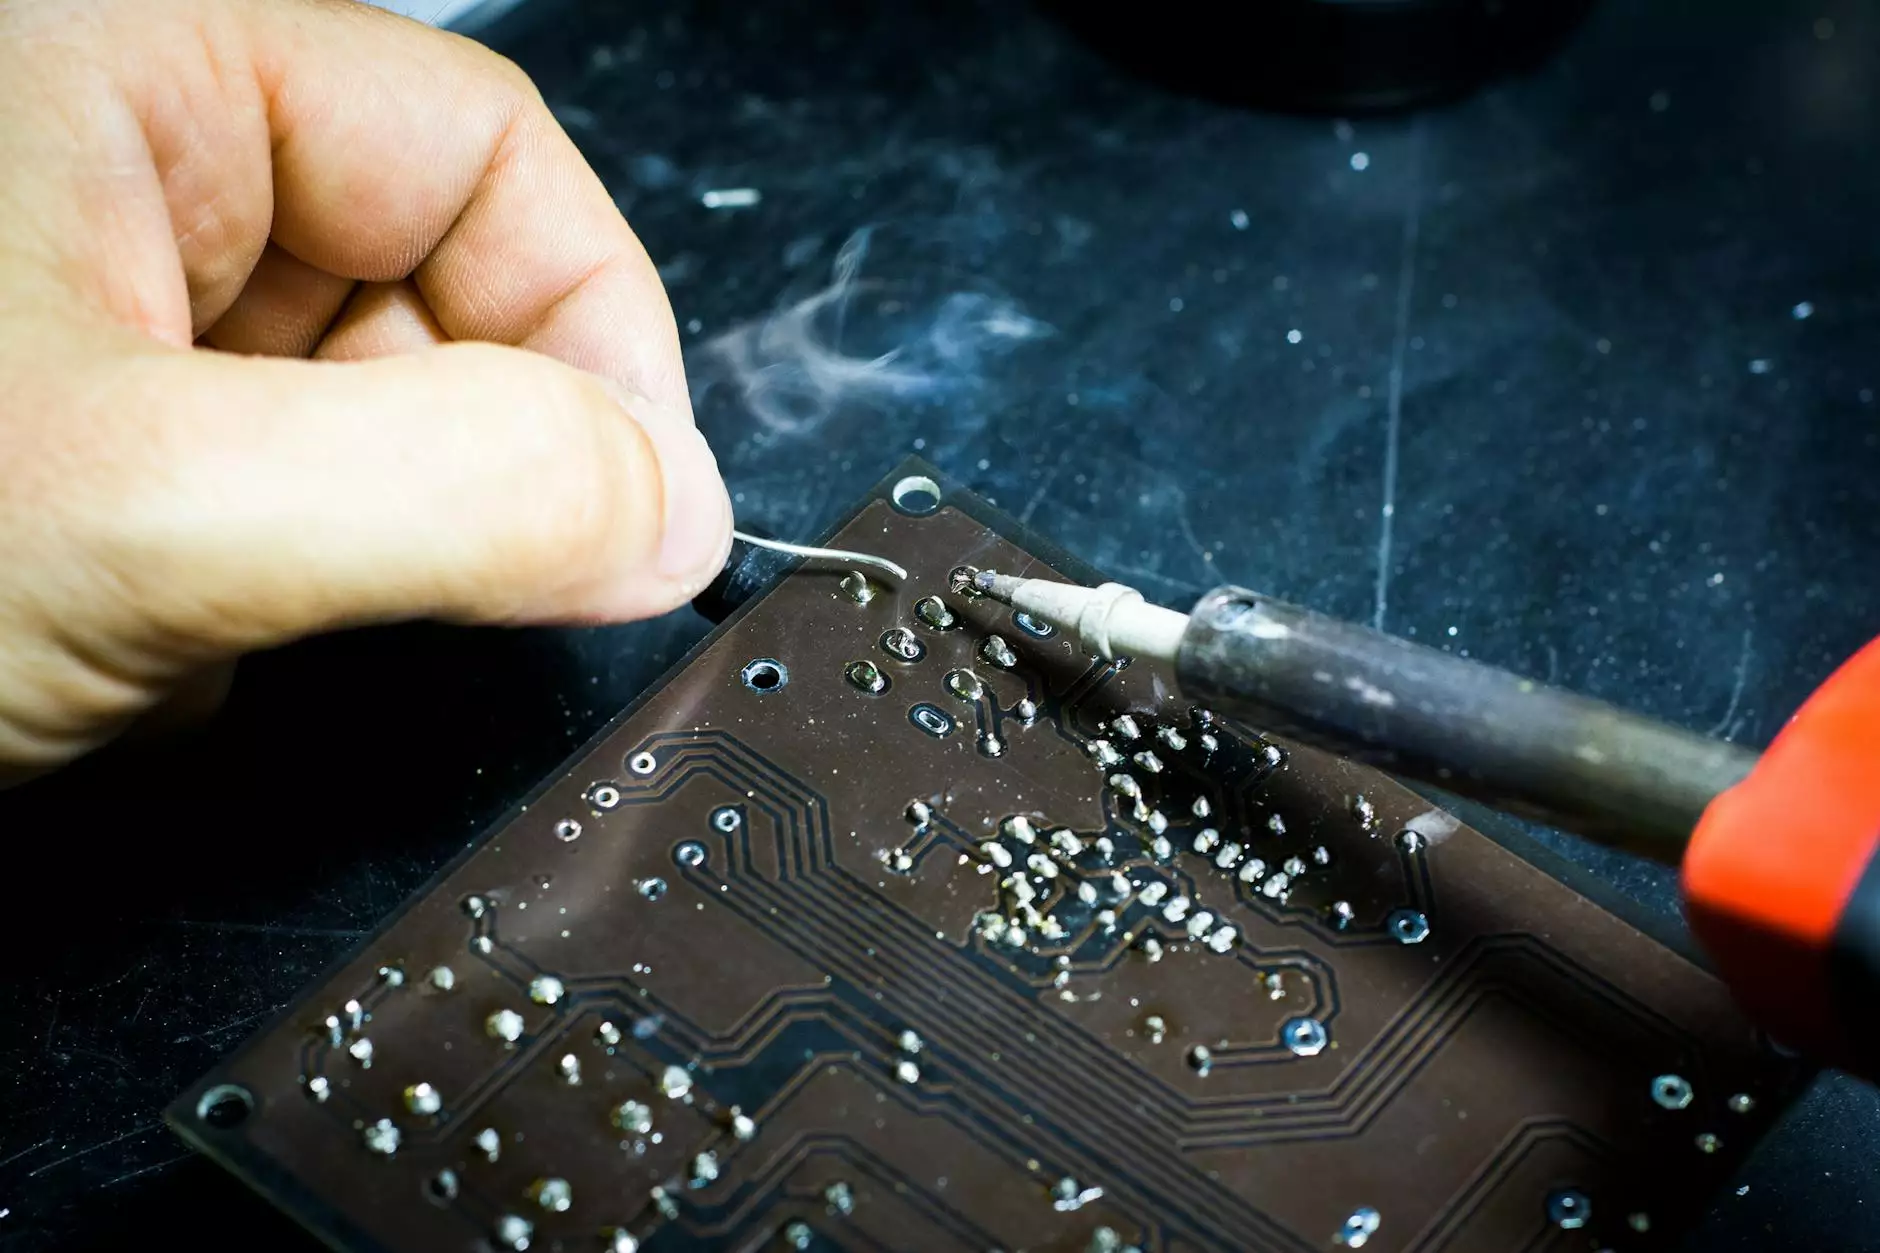
6. Heat and Solder
With the wires in place, heat the soldering iron to the appropriate temperature. Touch the tip of the soldering iron to the filled solder cups, transferring heat evenly. Once the cups are heated, touch the solder wire to the cups, allowing it to flow and fill the cavities completely.
7. Inspection and Cleanup
After soldering, inspect the filled cups to ensure there are no visible cold joints, excess solder, or bridging between adjacent cups. Use small wire cutters or a solder wick to remove any excess solder if necessary. Finally, wipe away any remaining flux residue using isopropyl alcohol and a clean cloth or swab.
Conclusion
Successfully filling solder cups requires meticulous preparation, proper technique, and attention to detail. By following the step-by-step guide provided, you can achieve reliable solder connections that ensure the functionality and longevity of your electronic projects. For further assistance or to explore our expert SEO services in the business and consumer services industry, contact SEO in Sydney today!